The Hubsan H107D FPV is quite close to my ideal personal drone: small, with embedded video transmitter and camera and good flying performance.
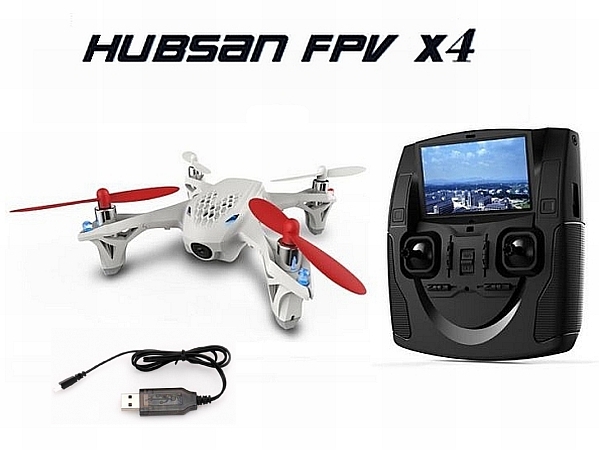
At least some channels ar compatible with FatShark equipment, so it is possible to fly it FPV with just a pair of FatShark goggles. It is also possible to fly it FPV right from the hubsan radio, which comes with a generous screen that gets the video feed live.
Well, it’s not the Black Hornet PD-100, no GPS, no 20+ minutes flight time, video range limited to 100 meters or so according to manufacturer. However for the price (150-250$ depending on the source), it is just an amazing little personal drone.
As noted in this nice review by Bo Lorenzen, a limitation of the Hubsan system out of the box is that the field of view of the camera lens is quite narrow, making it difficult to actually fly FPV. When doing FPV, it is quite nice to be able to see as much as possible of what’s around and the narrow view of the Hubsan makes it really difficult. A solution for this has already been suggested by Bo Lorenzen. It consists in gluing a metal ring for a wide angle snap on lens in front of the camera, to be able to actually use a snap on wide angle lens, the kind that is used on cell phones as add on.
I’d like to propose here a slightly different method to glue the ring in place.
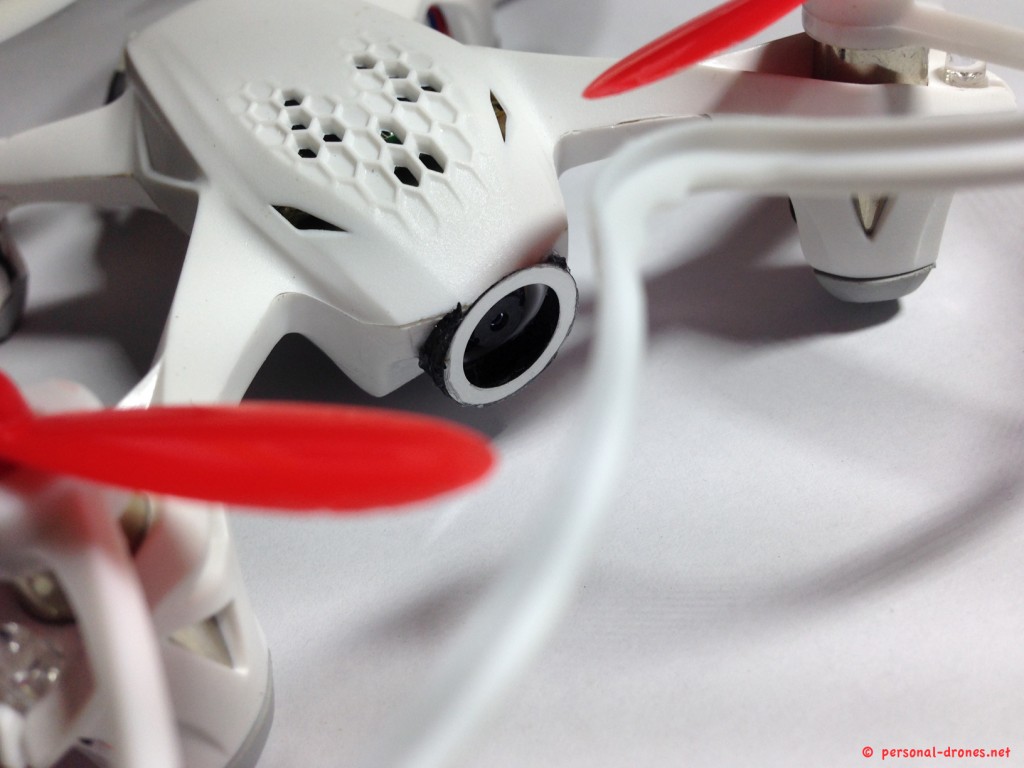
First step is to glue the ring in front of the camera as shown in the picture below. The reason for this asymmetrical positioning is that while the lens of the camera in the Hubsan points straight ahead, the body of the hubsan where the lens protrudes, is at an angle. The tiny piece of 3MM thick tape on one side of the ring has the purpose of correcting for this angle and allowing to mount the wide angle lens in a straight position, in line with the camera lens.
For the gluing, cyanoacrylate glue (attak) was used.
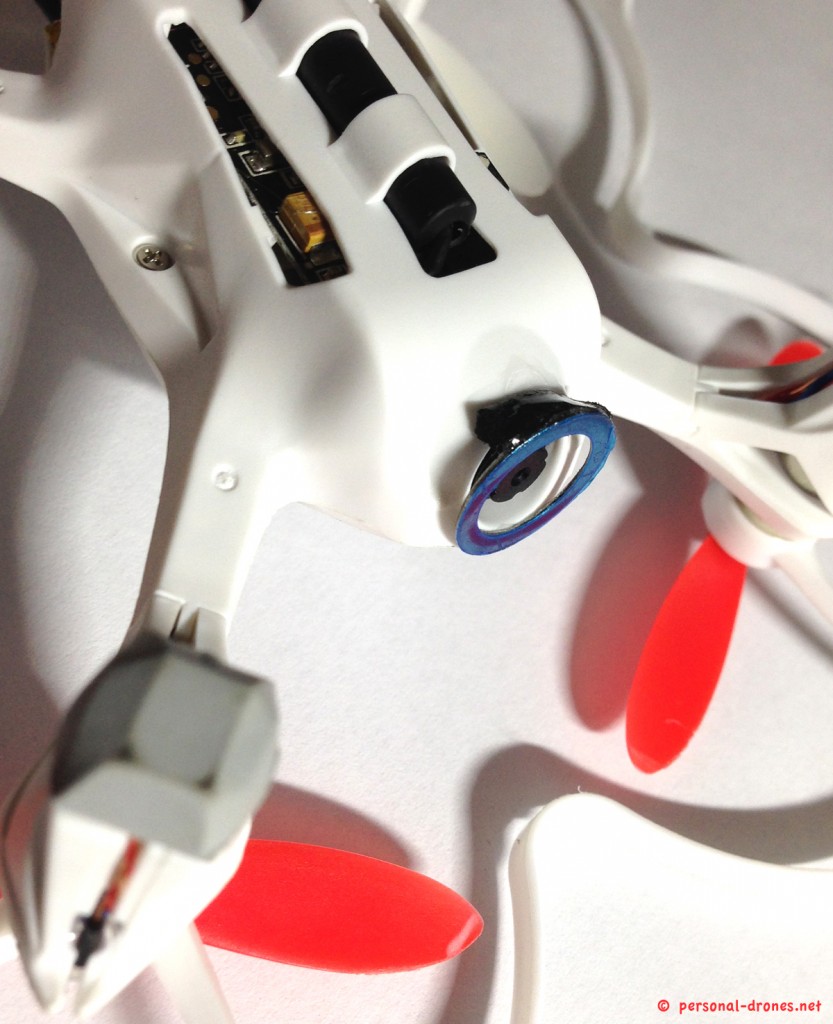
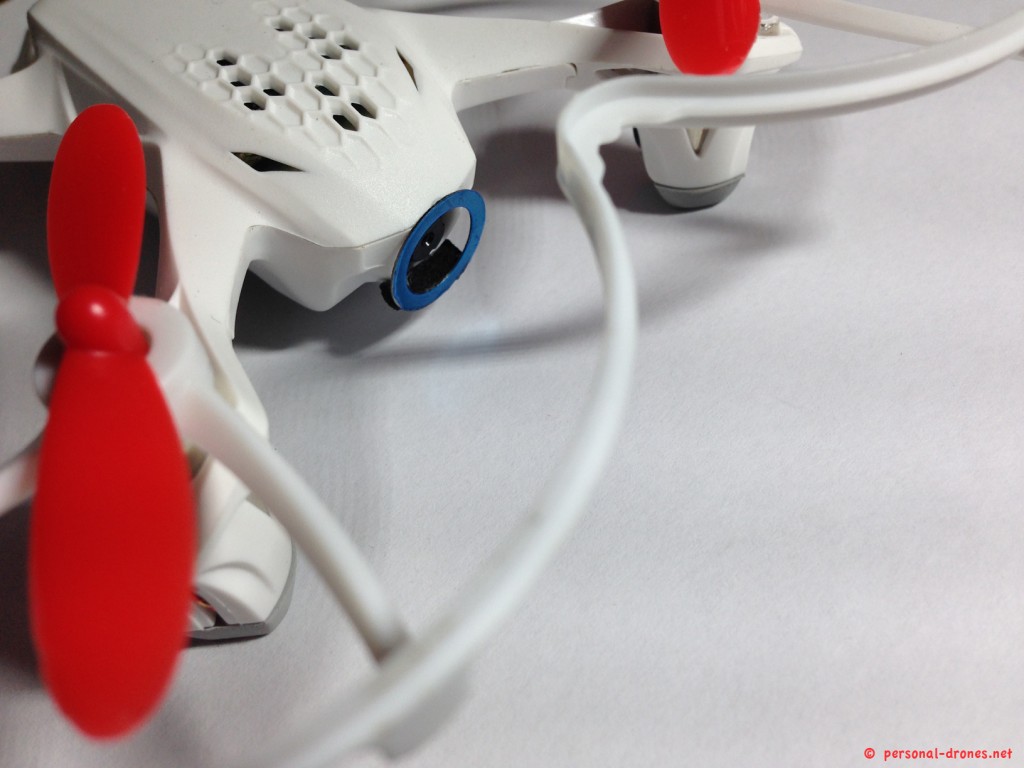
Then the lateral gaps are filled with more 3MM tape. Then some cyanoacrylate glue was used to reinforce the binding of the tape to the metal ring and hubsan body.
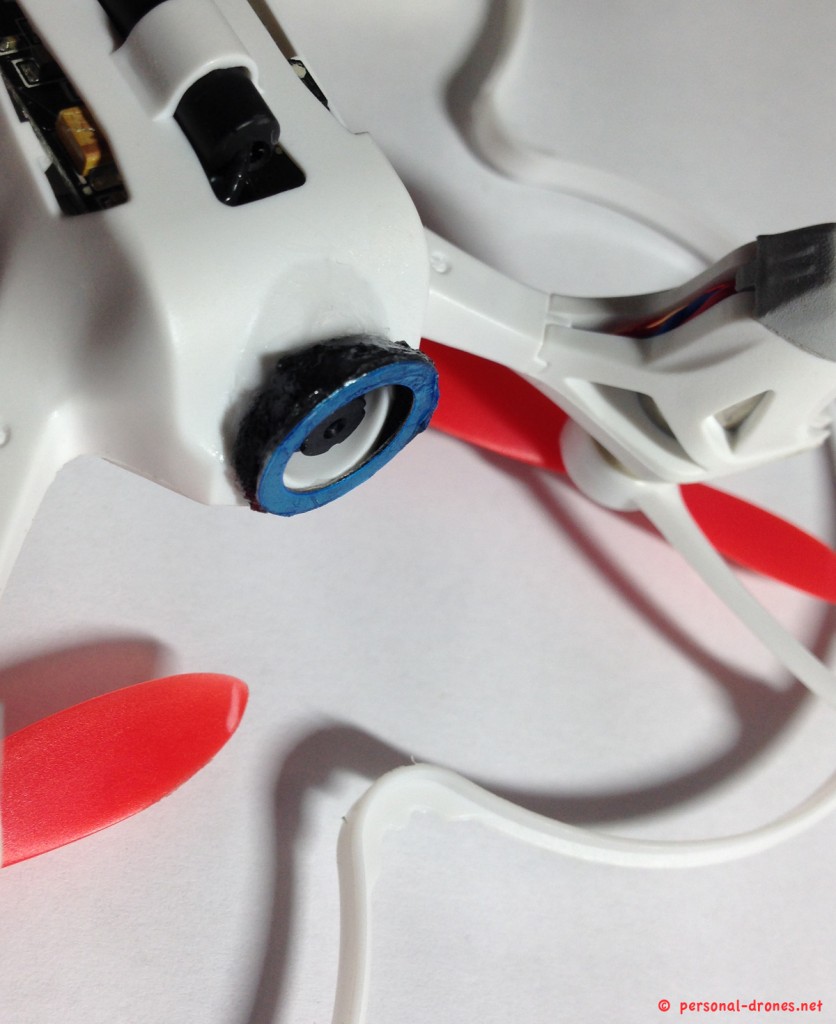
The blue plastic cover of the ring can be peeled out to leave a clean, glue free surface:
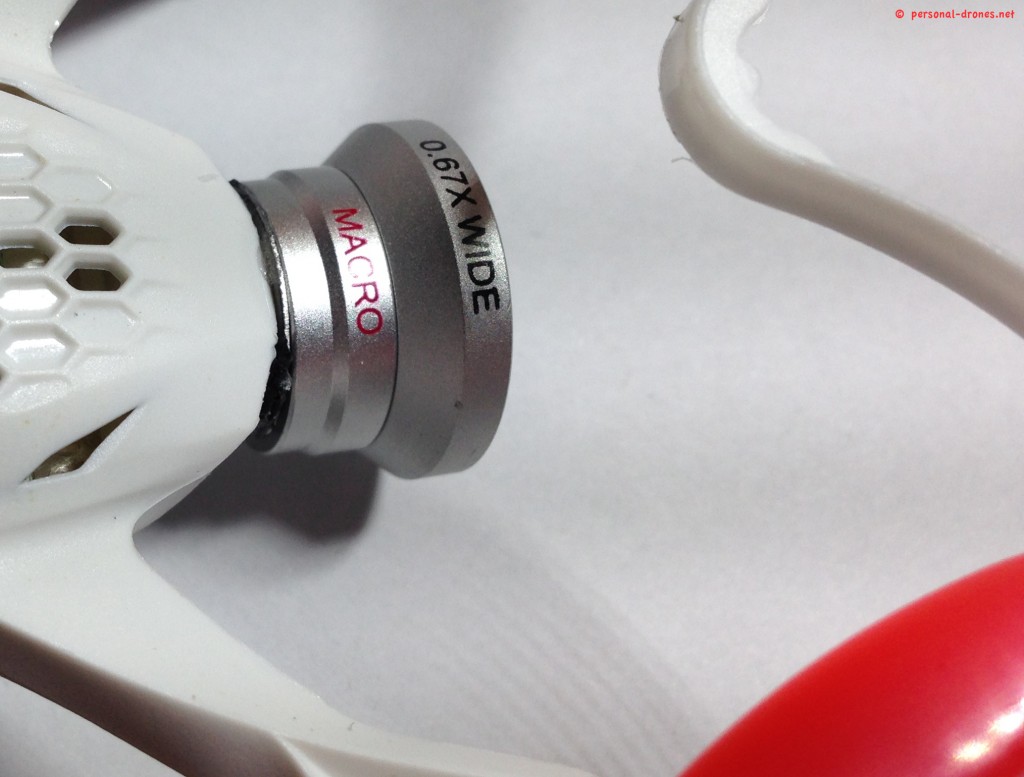
These last two pictures show the wide angle adaptor in place. Since I anticipate the lens will be easily lost in a crash, as the magnet is not so strong, the lens was mounted and then secured with some strong tape:
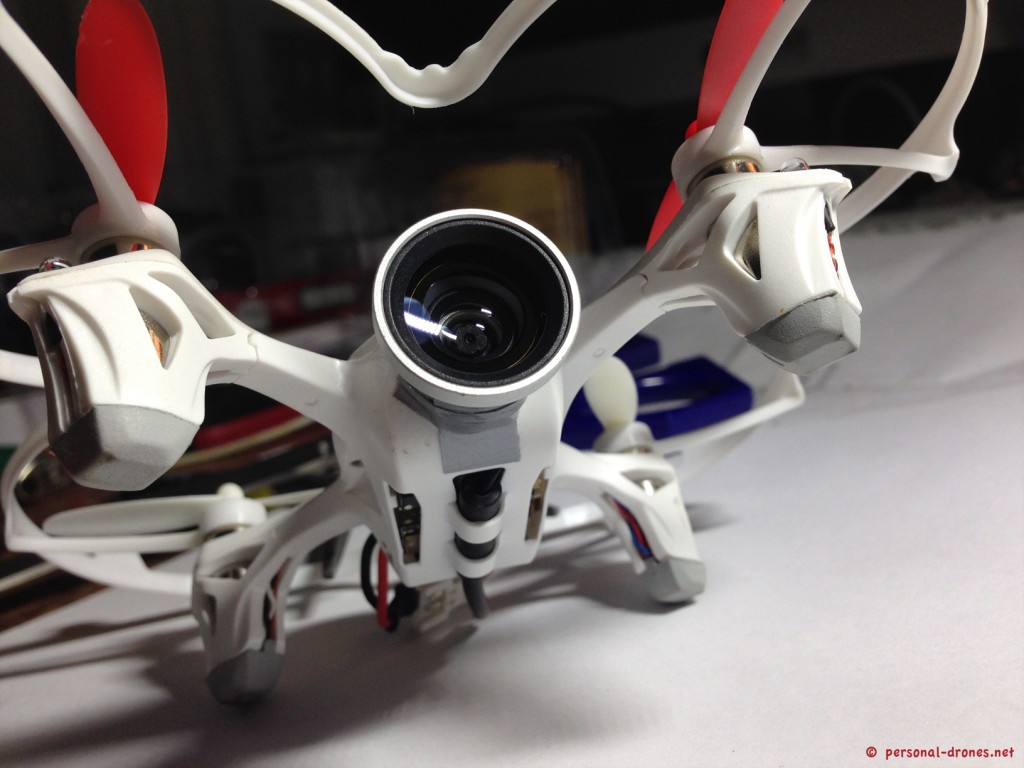
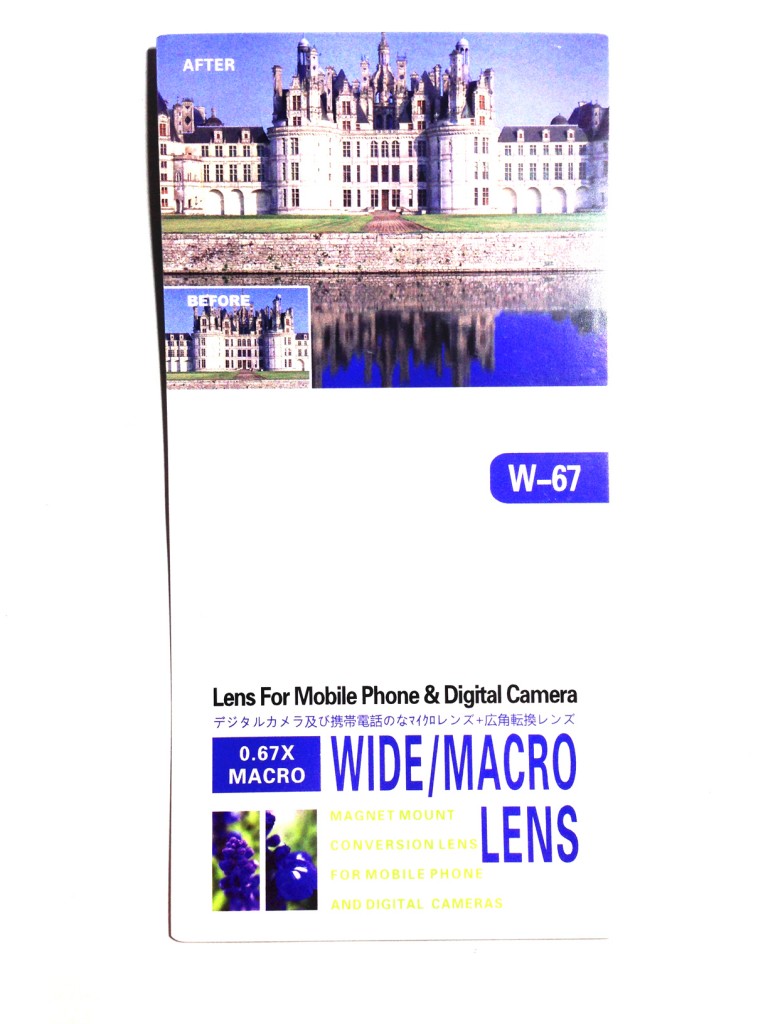
This is the lens I have used. It is extremely light weight and the Hubsan flies great with it. It works as intended, providing a significantly wider field of view than the default setup.
Stay tuned on the Personal Drones blog for the latest multirotor and quadcopter news!

I just got my wide angle lens, the my epoxy putty idea wasn’t working very well, so I came here. I have some black 3M VHB tape handy, which is what I think you’re using. I’ll give it a try.
Thanks!
AKron thanks for your post 😉
Looks great, I’m going to buy this bird and give your suggestion a shot. I do have to ask, can you post some before and after pics?
KJ this is a good point, will try to take some shots and post them. This will not be before a couple of week though, I am afraid 😉 Thanks for your comment.
Look i found huge info packet for upgrade modding H107d ! 😀
http://www.rcgroups.com/forums/showthread.php?t=2133770
Antti great find! Thanks for sharing.
Excellent mod. However, my H107D’s camera is angled downwards. I need to fly it at about 10′ high to have an ‘eye-level’ view on the screen. Is this standard on all H107Ds? Does the wide angle lens mitigate this?
I angled the lens like you did in your mod, but used Sugru to stick it all on. I stuck the lens direct to the body of the H107D as I fly indoors a lot and crashes are regular 🙂
I am going to try this on my Wltoys v686g when it arrives. i just ordered it yesterday and will post a review of it on my blog after i have done the mod. Check it out on quadreviews.blogspot.com